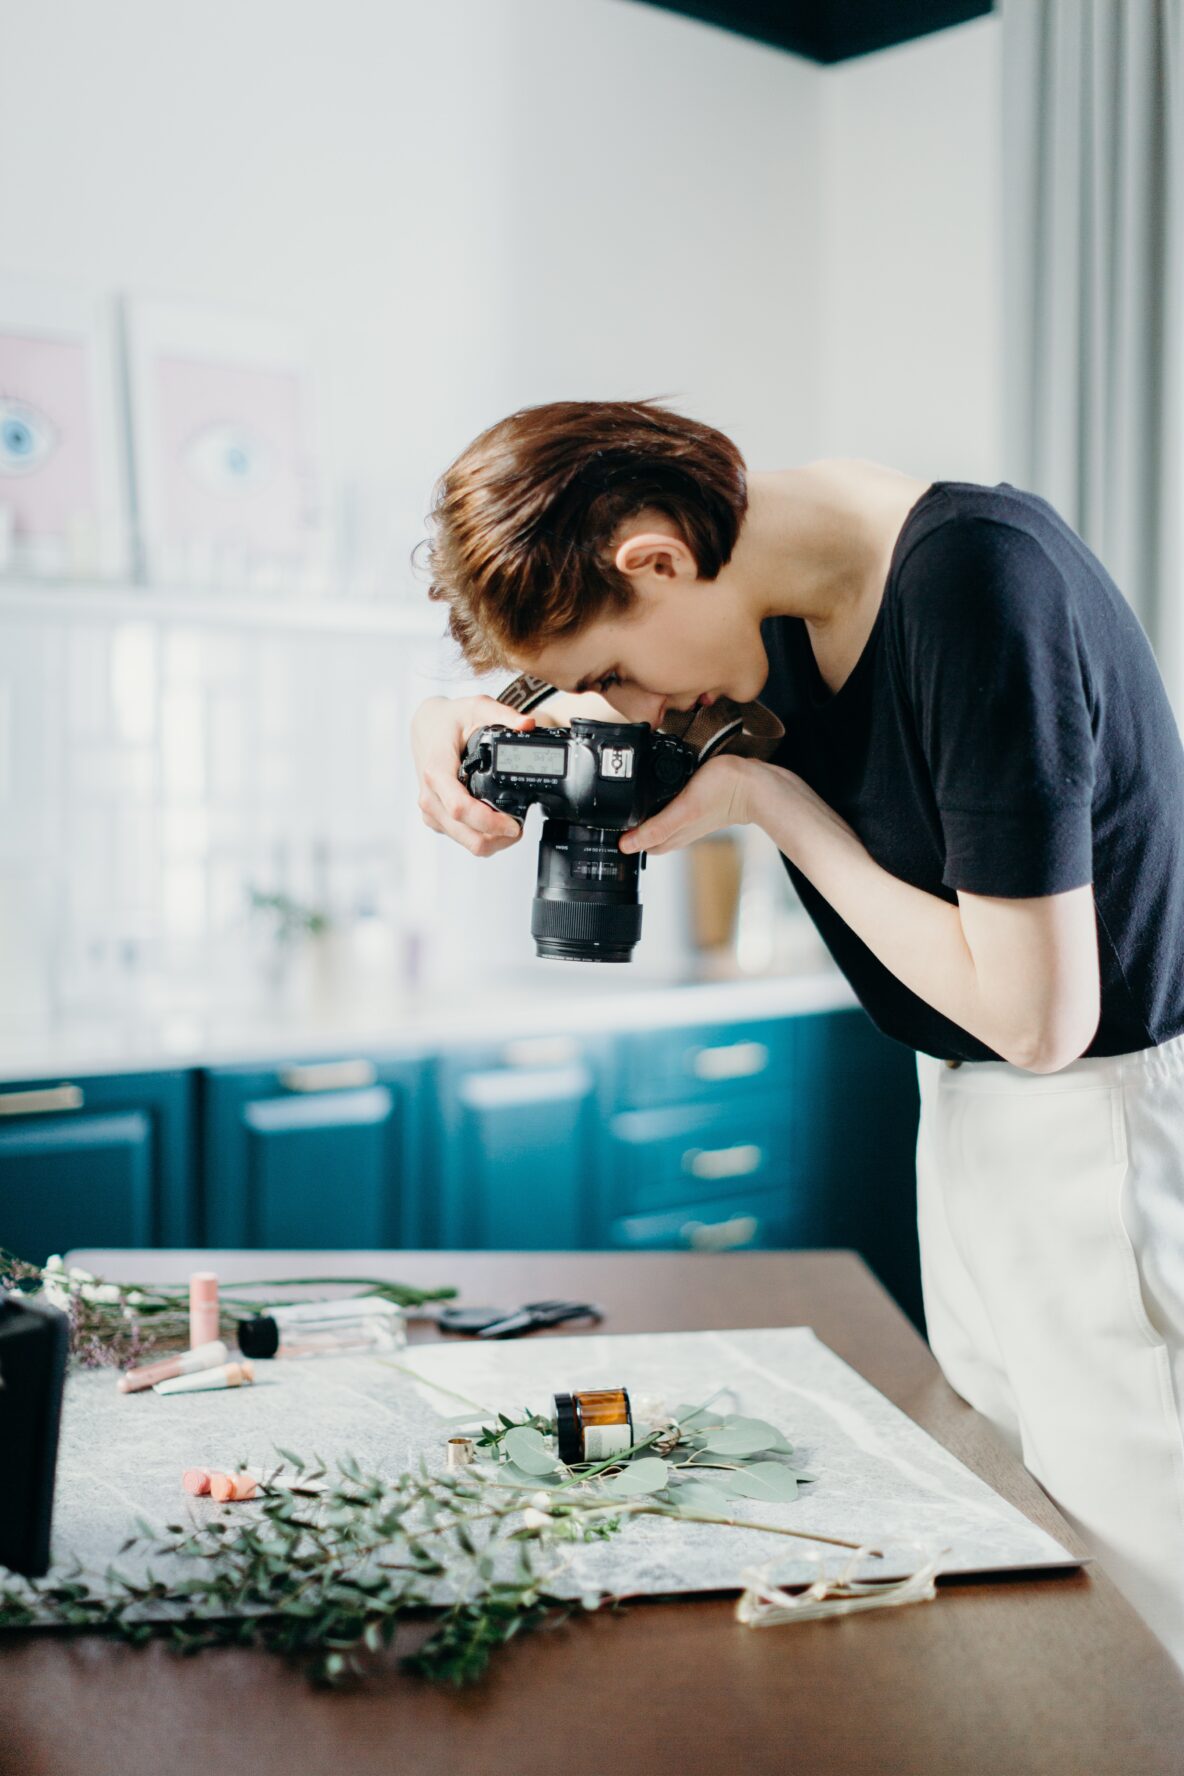
This is a very basic beginner’s level tips post. I know there are many artists who take amazing photographs and have some awesome, swoon-worthy gadgets to take those photographs, and not going to lie, I am totally envious (in a good way-I have a lot of admiration for your skill and dedication)! This post is not for you if you fall in that category!
Over the past few years working with the Arts on the Credit, I have seen some submissions from new artists and I just want to share some tips to help you (if you are in that boat) take a better photograph and do your artwork justice. It can make the difference between getting accepted or rejected for a show. If your artwork isn’t clear, the jury can’t tell if the colours are actually muddy or if the photograph was taken in a really bad light!
The good thing is that these days new phones have great cameras and you probably won’t have to invest in an actual camera. If you have a good camera though you want to photograph your art with both your camera and cell phone and see which image is a higher resolution (sharper, more true to the actual colours etc) and then stick to the gadget that gives you the best results. You will be surprised by how often that gadget may be your cell phone! For me, I started with my camera and now take all the photographs I need with my cell phone.
If you are doing small to mid-sized pieces then your life will be a whole lot easier when it comes to photographing these sizes. I take my pieces out in my little backyard, place them on the ground and photograph them from above (simple and takes much less time!). The best days are the overcast ones, so there is no direct strong sunlight on the art that can cause glares (especially for oil, glossy acrylics and resin work) or portray colours that are very different from the actual work. Make sure to hold your phone (now they even indicate if they are at the right angle!) or camera steady above the work, make sure the work is lying straight and not at angles ( you can fix up the slightly less than perfectly aligned images in editing on your phone or even in Google Photos). Take a couple of shots and choose the best one.
If your work is on the large size you can always dedicate one side of the fence that gets the right amount of light (without casting shade) for artwork photography. I have a couple of nails on the fence that works for me. Hang your work and take enough steps back to get the entire work in the shot-you don’t want to go too far back though. This way the work is straight (if you prop it up on something rather than hang it, there’s a chance of a slight angle) and you get a nicely aligned image. You may want to throw down a gardening cushion and get down on your knees to take the shot, that way you know you are getting an eye-level shot rather than an odd perspective from above. It may not seem like a big deal, but sometimes it can make a big difference depending on the artwork.
I never take photographs indoors unless it is right next to the window, indoor lighting just does not work. Daylight is the ideal light source for photographing artwork.
With all the new technology now available to us, you don’t even need to buy pricy editing software (I would never recommend that especially when you are just starting out as a new artist-it gets expensive!). You can use Google Photos (or whatever is on your computer/laptop) to straighten out, brighten, saturate, and fix shadows and highlights as needed. Remember not to overdo it though, you want to make your photograph look as close to the art piece as possible ( I do get carried away with saturation-it makes the photos so dramatic!) Play around with your cell phone and see what editing options are available on it as well. I have even used Instagram to edit photos of my artwork! It was very helpful in getting rid of some glare that I just couldn’t keep out of the photograph.
Remember to always crop out all the background around the artwork, yes even the frame! The best time to photograph your work is before you frame it (have one with the frame as well if you are putting it up on your website for example) really, no juror wants to see the frame! They also don’t want to see the work in “rooms” that is for your own advertising on your social media or website, not for shows or exhibition submissions!
The most important things to remember are lighting, having a steady hand or using a tripod, and alignment- take the photograph of the image on a flat surface! If the photograph is blurry, don’t use it, invest the time and effort to take as many shots as you need to get the perfect one, blur is usually caused by movement by the way. So you may want to use the tripod! You will have to practice a bit, good luck and happy photography!
About the Author
Khaula Siddique is a professional artist who loves bringing art to the community. She does this through unique exhibitions, interactive art events, and public art. You can see her public artwork throughout the GTA, follow her art shenanigans on Instagram at Khaula S Art and see more of her work on her website at Khaula Siddique.com


