Guest Post by Diane Dowsett
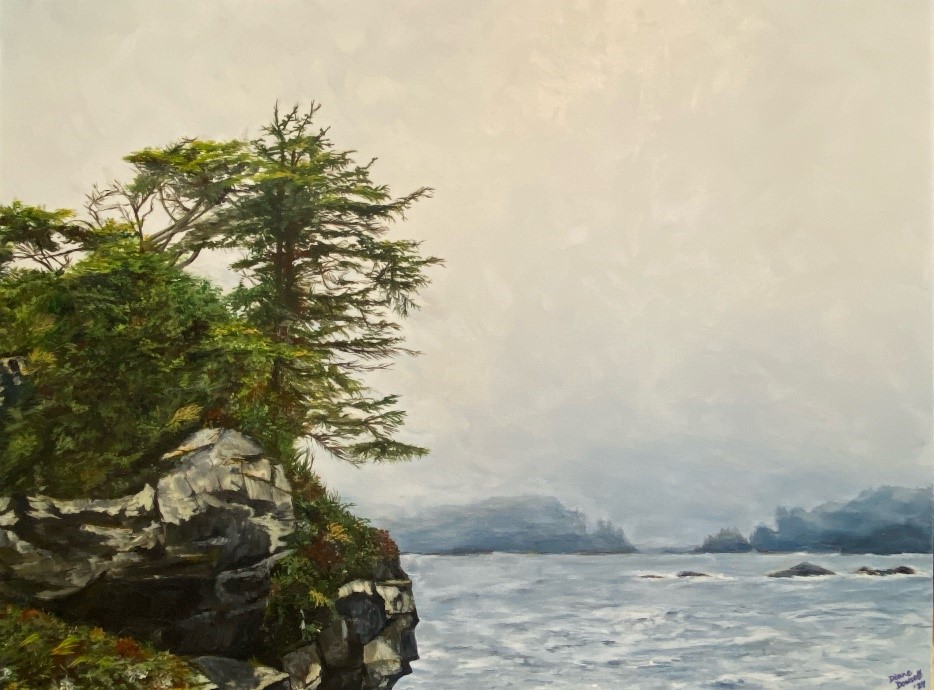
Have you wondered what goes into creating a painting, from the daunting start of a big blank canvas to the finished product hanging on a wall? If so, then keep reading for the behind-the-scenes journey of “Perched Sentinel.”
From this: To this:
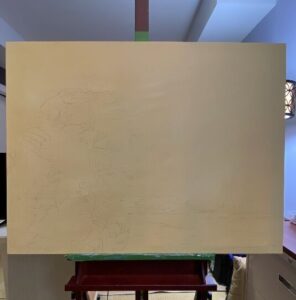
From ‘oh’
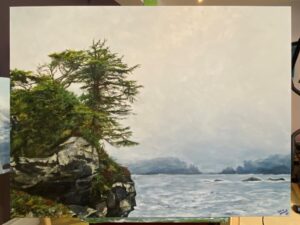
…to “OH MY!”
My Process:
- I work from my own photographs and crop the photo until I get the desired composition for the canvas size. I’ve taken a couple of photography classes to improve my reference photos!
- An underpainting is applied (usually in a warm colour like yellow ochre), before I sketch a light outline in pencil.
- Lesson learned: I’ve tried sketching the outline with a brush/paint wash, acrylic markers, watercolour pencils or chalk, and found that a plain-old pencil works really well, doesn’t smudge and covers up nicely with the paint.
- Tip: if I need precision in the outline (where perspective and relative size of the objects really matter), I use a data projector/laptop to display the reference photo on the canvas and then sketch key parts of the outline. Otherwise, I just freehand the outline, occasionally using a ruler to keep me on track.
- I decide on my core colour palette and make adjustments as I go, given how the paint actually looks on the canvas.
- I generally work from background to foreground, and top to bottom as shown in the pictures below. Sometimes I go back and forth, if certain parts are more challenging and I need to do colour blocking to get an overall impression.
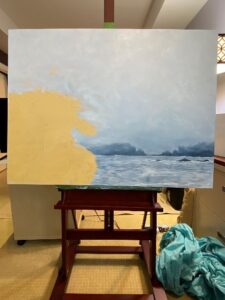
just keep painting…
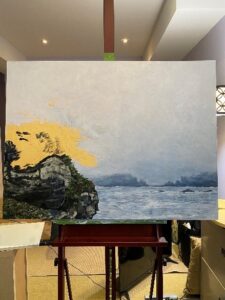
…*sigh* just keep painting…
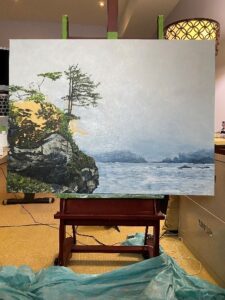
…wow! Just keep painting!
Tip: Want to know how to create misty skies with variation in sheen and colour? Use a sponge – it provides a nice smudgy finish that’s quick to use and easy on the hand. The video clip shows how I applied the sky using a mix of colours and gloss medium. As the sky changed colour, I added increasing amounts of the colours to Titanium White – Light Blue Permanent, Prussian Blue and Neutral Grey 8.
- As you can see, I take photos as I go. They primarily serve as a tool to look at the painting’s progress in a different way (it’s amazing what you can see is working and not working in a thumbnail-size photo), and also act as a painting journal.
- Tip: To keep the depth of the tones on track (light, medium dark), I temporarily edit the progress photos to monochrome, to better see what’s really showing up as light vs. medium. Then I make adjustments where needed, to provide better balance and reflect the reality of the scene. Those last few highlights make all the difference!
- It’s really important to contemplate the painting’s progress over a number of days. I look at it in different light, angles, places and think about what’s needed next. I also sometimes ask my husband and an artist friend for their perspectives – it’s easy to get too immersed in complex scenes and lose objectivity.
- Finishing touches:
- To provide colour balance between cool/warm tones, add depth and visual interest, I incorporate complementary colour into strategic spots in the painting, e.g. dark red or yellow highlights to trees and rocks (see pictures below). From a distance, the subject doesn’t look much different, but up close you can see there’s much more going on. And it’s an artist’s prerogative to see red in the tree bark and gold in the ocean!
- To protect the painting, I use a matte, satin or gloss spray varnish – whatever I think works best with the intended mood and brushstrokes. It’s personal preference to use spray vs. a brush-on varnish – I want to avoid brush marks.
- Even though I do paint the edges of the 1.5” deep gallery canvas (either in a dark colour or a blend of colours used in the painting), I frame my big paintings with .5” wide floating frames in a relevant colour. This way, the painting has a border, pops against the frame and is client-ready. I always wire the frame, add felt wall bumpers on the bottom back corners and of course attach my business card.
The Finished Painting
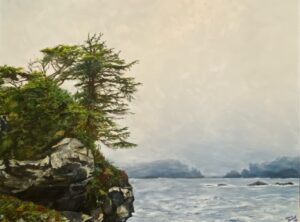
Perched Sentinel
Reveal videos are so much fun!
Tip: Using a room visualization app on my phone (such as ArtRooms) is a helpful way to market art on a website or through social media, and help viewers see the actual size of the painting in different settings.

Make your walls happy!
And that’s it! Onto the next painting…
A Bit About Me
I’m a fine arts painter who creates immersive landscape stories using rich colours, serene composition and expressive brushwork. Having lived, worked and travelled in many countries throughout my life, I’m inspired by the variations in geography, cultures, and the creative accomplishments of others.
My work explores the power of the image as a way to transport oneself to past experiences, evoke emotions and sensations. A particular colour of sky or water acts as a portal to memories. The combination of colour and shapes also produces an immediate reaction; a feeling of connection that can’t always be expressed in words – it just feels right.
Idyllic images create a beautiful refuge from daily life and act as a reminder to stop and enjoy the beauty that nature presents, fleeting and ever-changing.
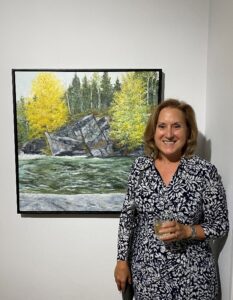
Follow Diane on Instagram and Facebook and check out her Website!


